The Anatomy of a Tube-Free Wheel System
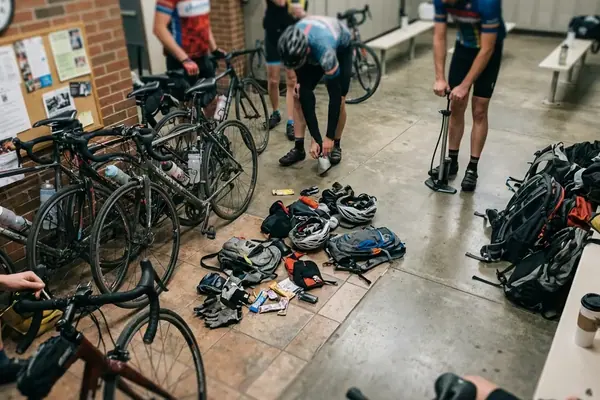
In recent months, the traditional bulky saddlebag has quietly vanished from the local peloton. Riders showing up for the Saturday morning rollout are increasingly carrying nothing more than minimalist plug kits tucked into their jersey pockets. This visual shift across the group ride signals a fundamental mechanical change in how road cyclists manage their equipment. The modern tubeless ecosystem relies on an airtight chamber rather than a separate inner bladder, requiring a specific combination of components to function reliably.
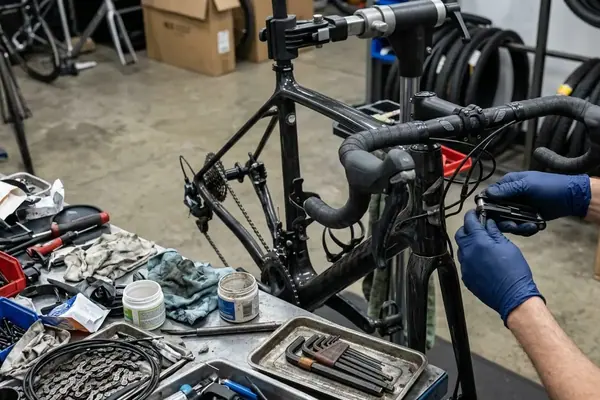
Building this foundation requires precise preparation at the rim bed. Mechanics apply two layers of 21mm to 25mm non-porous polyamide tape, pulled at high tension to seal the spoke holes completely. A specialized sealed valve anchors the system, seating firmly against the curved channel of the rim. From there, valve core removal tools are used to inject 30ml to 45ml of liquid sealant directly into the tire cavity. Traditional clinchers depend on a fragile inner tube to hold air, while tubular systems require layers of mastic glue to affix a sewn tire to the rim bed. The tubeless approach merges the tire and rim into a single, self-healing unit that actively resists flats while in motion.
The Shift in Roadside Repairs
The disappearance of the spare tube changes the rhythm of a group ride puncture. Instead of removing the wheel, unseating the bead, and wrestling a new tube into place, riders now rely on the internal sealant to do the work. If a piece of debris creates a hole too large for the liquid to coagulate, the rider simply inserts a sticky rubber plug directly into the tread. The wheel stays on the bike, and the repair takes seconds rather than minutes.
Moving Past the High-Pressure Blowouts
Early road tubeless adoption was undeniably messy. The initial industry logic simply ported mountain bike technology over to skinny road tires. Running 23c tires at 100 to 110 psi with early latex sealants frequently resulted in catastrophic bead blow-offs during fast descents. The pressure was simply too high for the early bead designs to handle, spraying sealant across frames and riding partners. These early failures created a lingering skepticism among veteran riders who demanded absolute reliability on steep, winding roads.
The industry solved this physics problem by increasing tire volume. Modern road setups have shifted entirely to 28c and 32c casings. This casing volume increase allows for a 12 to 18 percent larger contact patch on the pavement. More importantly, it drastically reduces the required air pressure to maintain structural integrity. A 75kg rider on 28c tires can drop from a historical 105 to 115 psi down to a plush 58 to 64 psi. The system becomes stable at these lower pressures, reducing the risk of the bead unseating under heavy cornering loads.
Dialing In Your Inflation Strategy:The transition to higher volume casings demands a complete reset of your inflation habits. Pumping a modern 28c tubeless tire past 75 psi negates the traction benefits and risks overwhelming the bead seat. Trust the lower numbers to provide both speed and grip.
Factory Integration and the Hookless Rim Standard
Major manufacturers like Giant and Liv now ship their performance bikes tubeless-ready straight from the factory floor. This top-down integration forces the market to adapt and standardizes the equipment riders encounter on showroom floors. The most significant engineering shift accompanying this transition is the move to hookless rim technology. Traditional rims feature an inward-facing carbon or aluminum hook to physically grab the tire bead. Hookless designs eliminate this lip, creating a straighter, more aerodynamic sidewall profile and simplifying the carbon manufacturing process.
During extended testing on local Arkansas chip-seal routes, the bead retention tolerances on factory-spec hookless wheelsets proved reliable. Hookless rim internal widths have expanded from 19mm to approximately 22.5mm, providing a wider base that prevents the tire casing from folding under hard cornering loads. Manufacturing tolerances have tightened to roughly +/- 0.2mm for hookless rim bead seat diameters, ensuring a precise, airtight lock between the rim and the tire.
Navigating Component Compatibility
This shift in rim design requires strict attention to equipment pairing. Hookless rim compatibility requires tires explicitly designated as hookless-approved by the manufacturer, as standard clincher beads will fail to seat safely without the traditional rim hook. Riders must verify their tire choice against the wheel manufacturer's approved list before attempting installation.
Surviving Arkansas Chip-Seal and Debris
The practical benefits for everyday riders become obvious on harsh country roads. Puncture protection remains the primary draw for the high-mileage cyclist navigating shoulders littered with glass and wire. Modern sealant coagulation is capable of plugging casing punctures up to roughly 3.5mm in diameter. This puncture sealing typically occurs within two to four wheel revolutions at speeds between 15 and 22 mph. You might hear a brief hiss, feel a speck of moisture on your calf, and then the tire holds firm for the remainder of the ride.
Beyond flat prevention, the performance gains are measurable. Eliminating the friction between an inner tube and the tire casing reduces overall system drag. Removing this internal friction allows the tire to deform and rebound with less energy loss across varied tarmac conditions. Furthermore, running lower pressures on rough pavement absorbs high-frequency vibrations that would otherwise fatigue the rider's upper body over a four-hour route. You glide over the chip-seal rather than fighting every imperfection in the road surface.
- Vibration Damping: Lower pressures allow the tire casing to absorb road chatter before it reaches the handlebars.
- Cornering Traction: The larger contact patch provides a wider margin of error on off-camber descents.
- Rolling Efficiency: The absence of an inner tube reduces the energy required to keep the wheel moving forward.
Make the Switch on Your Next Wheelset
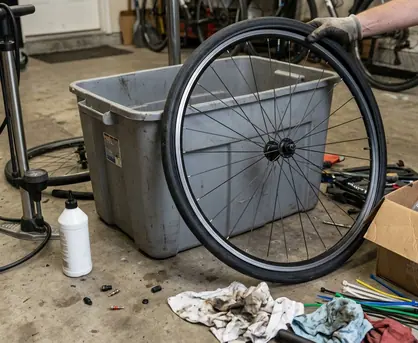
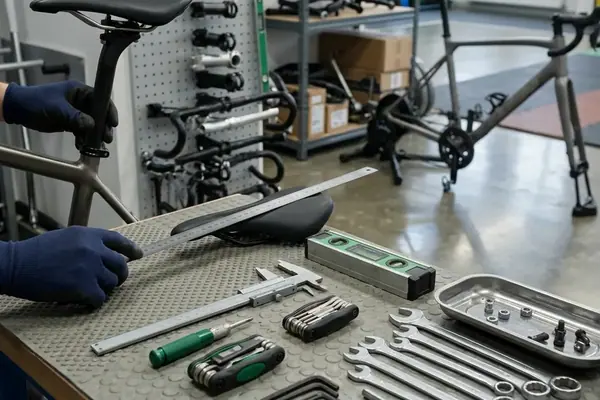
Transitioning to this technology requires a brief adjustment period in the garage. Initial setup frustration usually drops after the first successful tire seating. Expect initial setup timeframes ranging from 15 to 25 minutes per wheel as you learn the technique of seating the bead with a sudden burst of air from a compressor or flash pump. Maintenance requires a bit of scheduling, with sealant replenishment required every three to five months depending on local climate and storage temperatures. Hotter environments will dry out the liquid faster, necessitating more frequent top-offs through the valve stem.
The era of holding out for traditional clinchers is over. If you are purchasing a new road bike or upgrading your wheelset, fully commit to a tubeless setup. The improvements in ride quality, cornering grip, and flat prevention make this an essential upgrade for serious local riders. Leave the spare tubes behind, invest in a quality plug kit, and embrace the modern standard for road cycling.